Designing a Paper Rose SVG Cut File
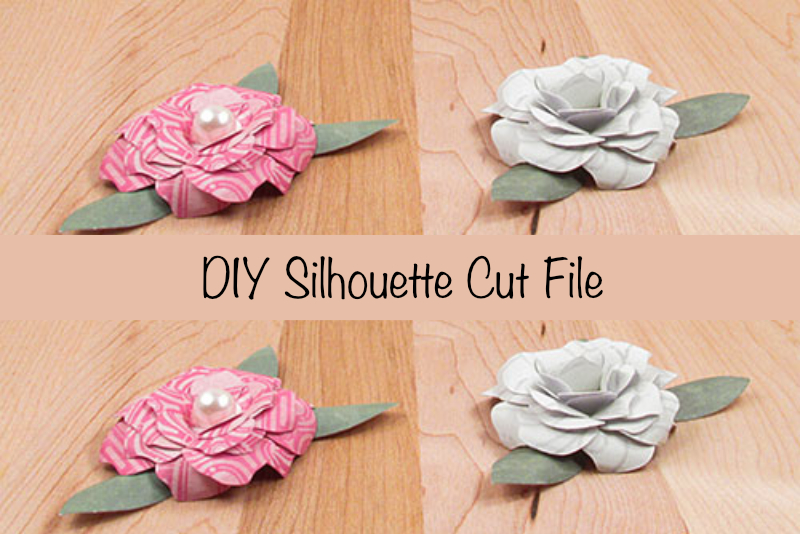
Paper roses are very popular and there are many dies for making them. I wanted to design my own SVG cut file for the Silhouette. So I started researching and experimenting. As a long time crafter, I already knew how to make a ribbon rose and a clay rose.
I first tried creating a rose from a strip of ribbon-sized paper. It was OK but the paper was more difficult to fold then a soft fabric ribbon.
Next I tried to duplicate the clay rose method of forming each petal individually. I started by drawing the cut line for one rose petal and then scaled it down to several sizes. This method was a little better but I wanted a cut file that didn’t require so many pieces.
I kept the rose petal shape that I drew previously and tried to create a one-piece layer of six rose petals together. In Illustrator®, I placed each petal around a circle and drew a cut line along the outline of this group of shapes.
When I tested this version, I found that the large circle was very bulky and made it difficult to shape the petals into a rose. I made a few more test, each time reducing the size of the inner circle. I also decided to reduce the number of petals from six to five, because I didn’t like the way the six petals were stuffed together at the center of the rose.
As you can see in the final Illustrator SVG, the inner circe has had a lot of alterations. I extended the tip of each rose petal toward the circle and about half way into the circle. Then I cleaned up the overlapping lines to create five smooth V-shaped curves between each petal. This smooth curve is easier for the Silhouette® to cut than a sharp V-shape. The result was a small inner circle with five “fingers” extending to and attaching each petal to the inner circle.
The last step was to scale this petal layer about 90% each time to create a medium and small size layer. Then we needed a few leaves.
I drew the basic green leaf shape. I liked the flexibility of the small circle with five “fingers”. So I duplicated this and “attached” a leaf to each finger. Above is the finished rose. Paper used - Timeless Textures and Floral Fair by DCVW Inc.
Copyright 2018 Adobe Systems Incorporated. All rights reserved. Adobe product screen shot(s) reprinted with permission from Adobe Systems Incorporated. Adobe, Photoshop, Photoshop Album, Photoshop Elements, Illustrator, InDesign, GoLive, Acrobat, Cue, Premiere Pro, Premiere Elements, Bridge, After Effects, InCopy, Dreamweaver, Flash, ActionScript, Fireworks, Contribute, Captivate, Flash Catalyst and Flash Paper is/are either [a] registered trademark[s] or a trademark[s] of Adobe Systems Incorporated in the United States and/or other countries.
Silhouette, Silhouette Studio, Silhouette Connect, PixScan, Silhouette CAMEOR and Silhouette Portrait are either registered trademarks or trademarks of Silhouette America, Inc. Product screen shot(s) reprinted with permission from Silhouette America, Inc.

Related Articles
Editor's Picks Articles
Top Ten Articles
Previous Features
Site Map
Content copyright © 2023 by Diane Cipollo. All rights reserved.
This content was written by Diane Cipollo. If you wish to use this content in any manner, you need written permission. Contact Diane Cipollo for details.


